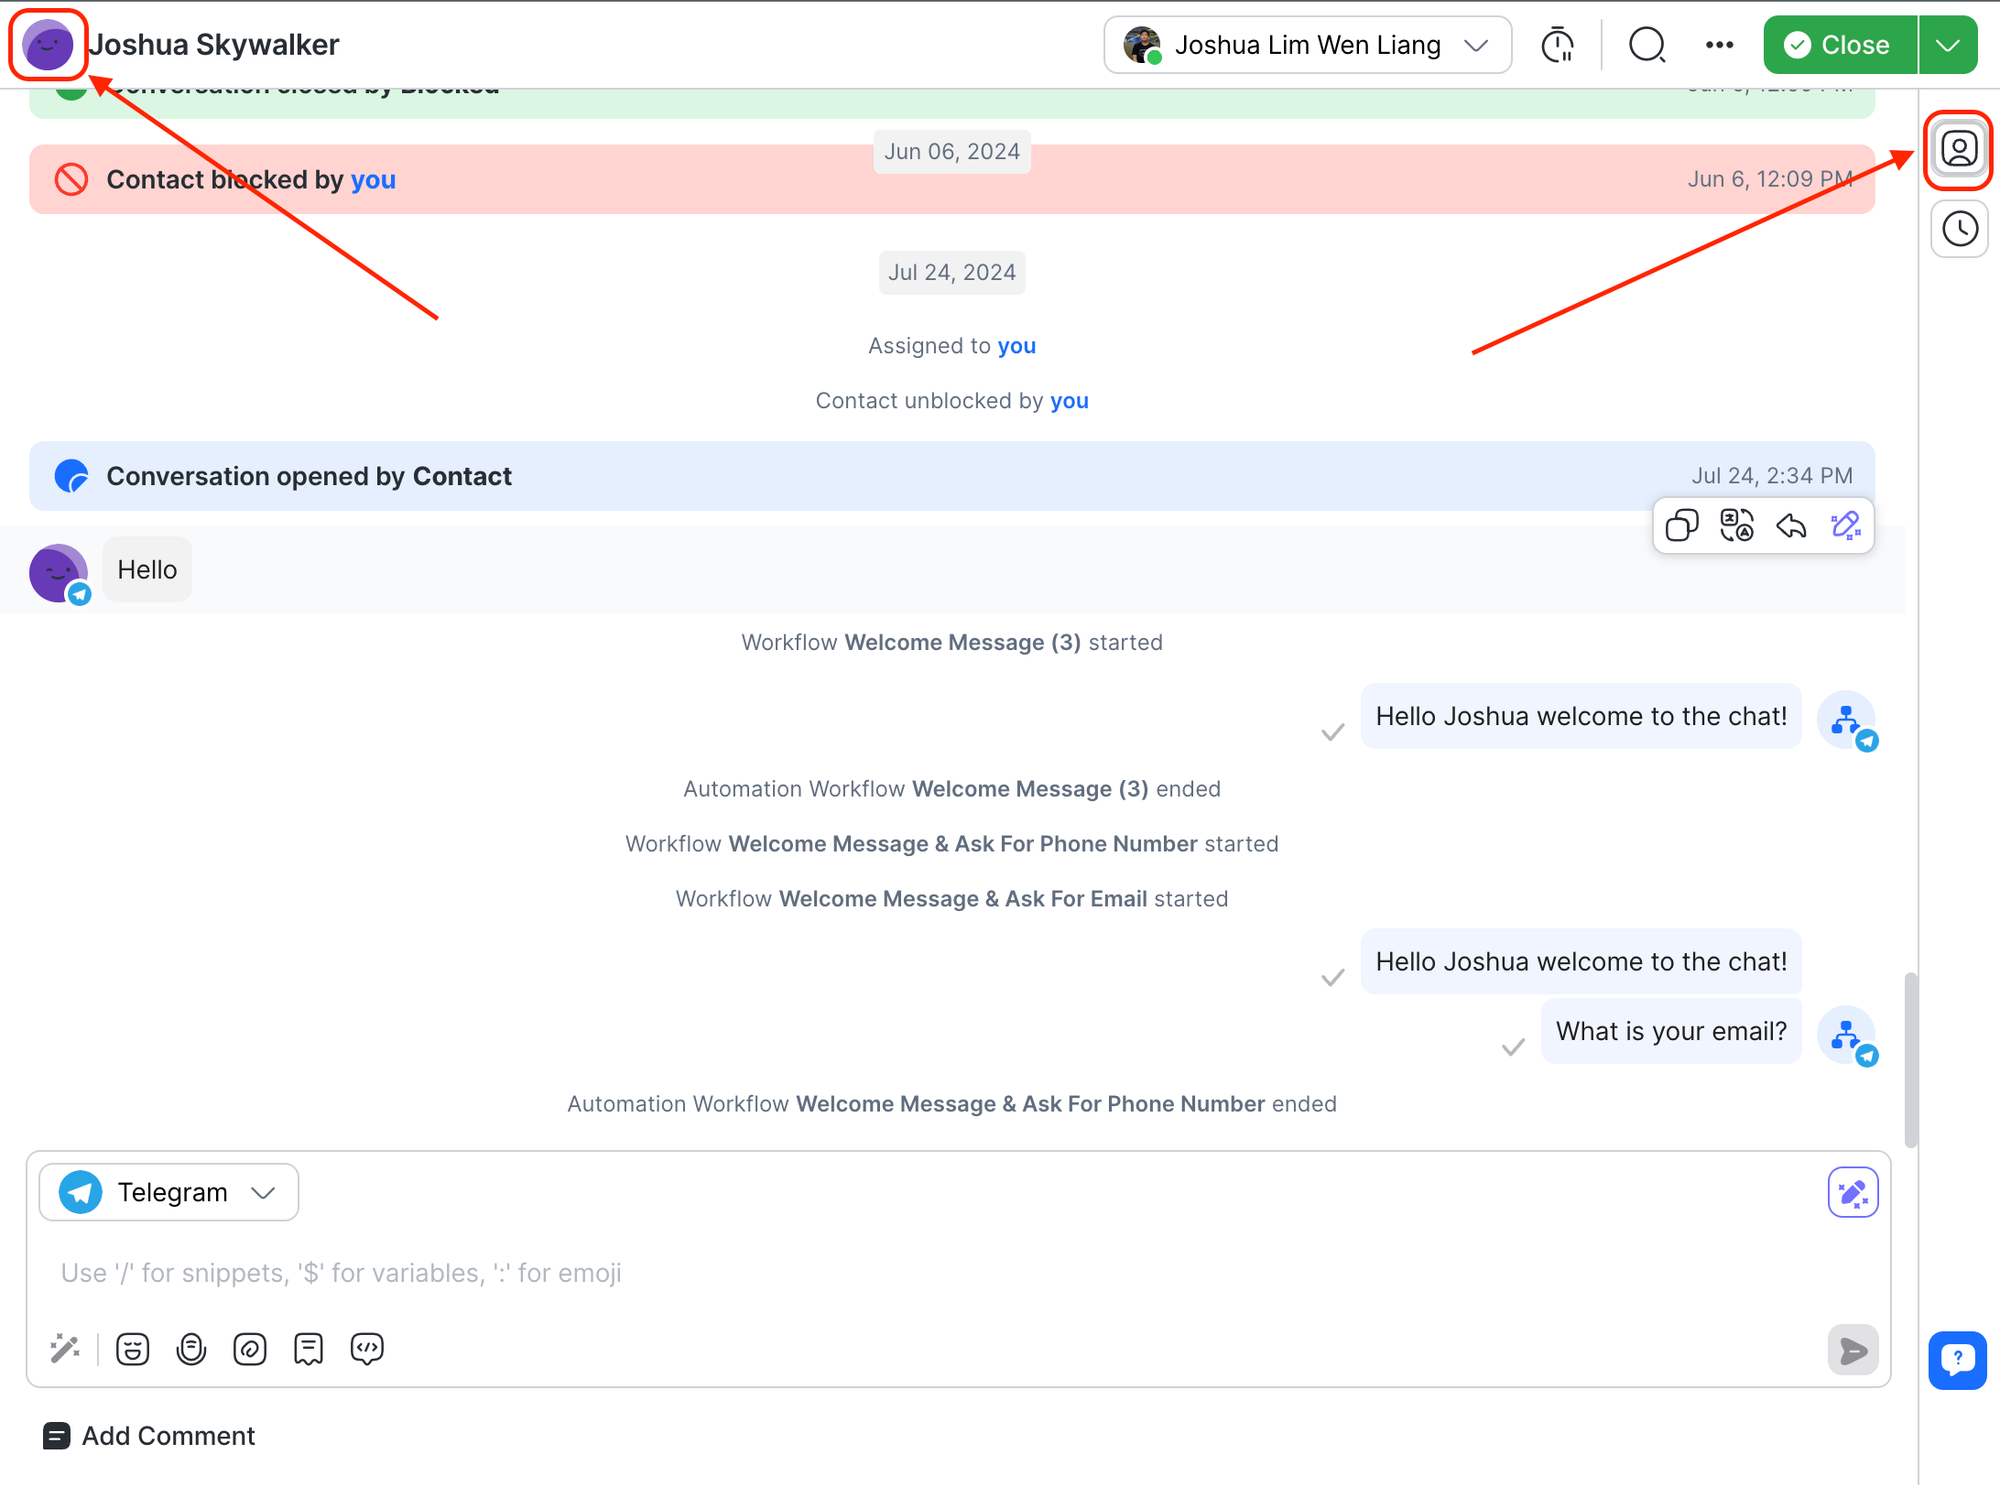
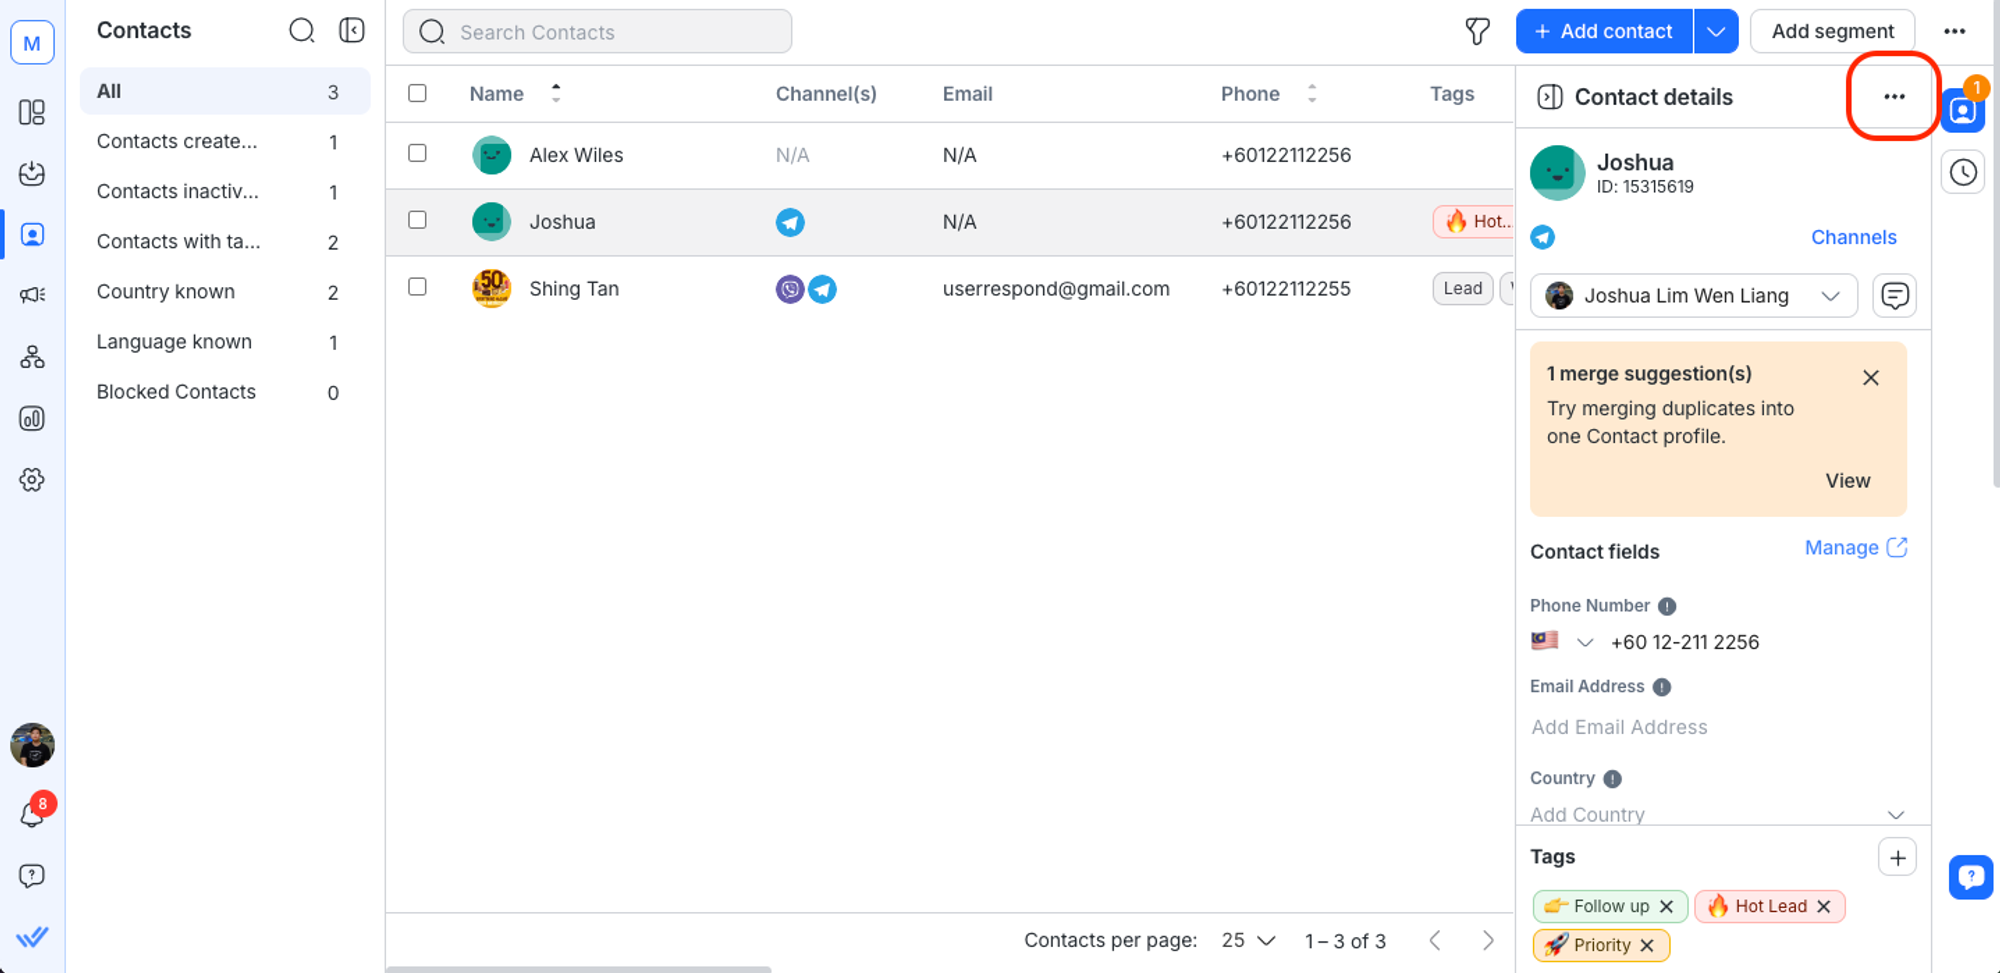
In the Inbox module, select a Contact from the conversation list. To view the Contact's details, click the Contact details icon or profile picture. Alternatively, in the Contacts module, click on a Contact from the Contact list to view the Contact's details.
Contact details consists of:
The Contact’s name and ID are displayed at the top section of the Contact’s details.
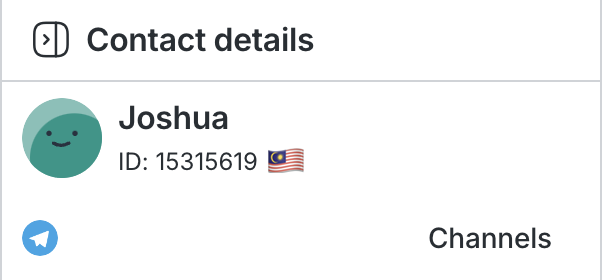
You can edit a Contact's name by clicking on the edit icon. Enter your changes and click on the check mark to confirm the changes.
In the vertical sidebar, click on the Channels tab.
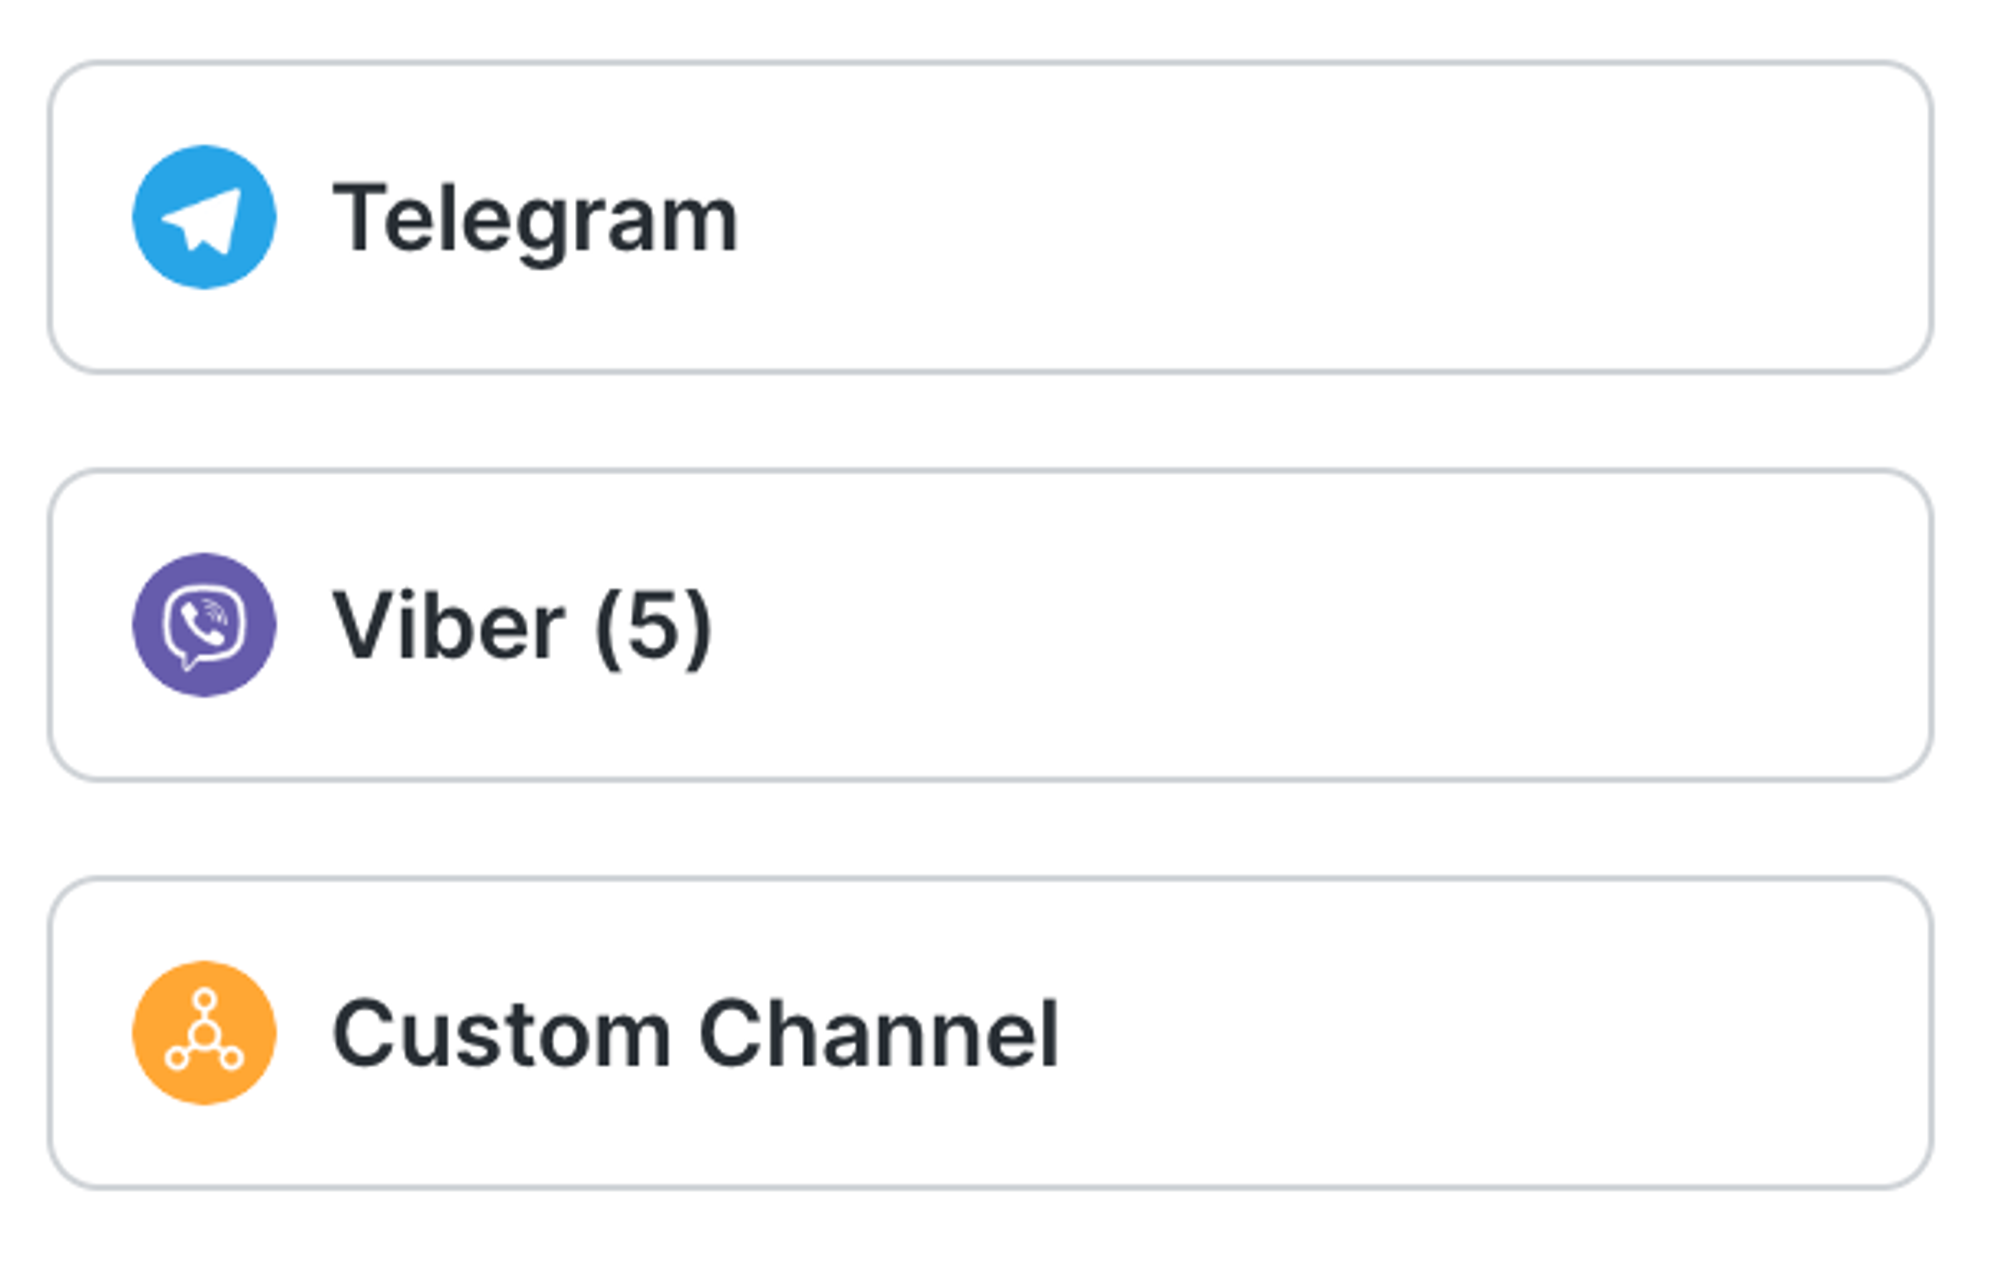
In this tab, you can find a list of Channels connected to the Workspace with different indications. There are 3 types of Channels you can find here - Active Channel, Inactive Channel and Unavailable Channel.
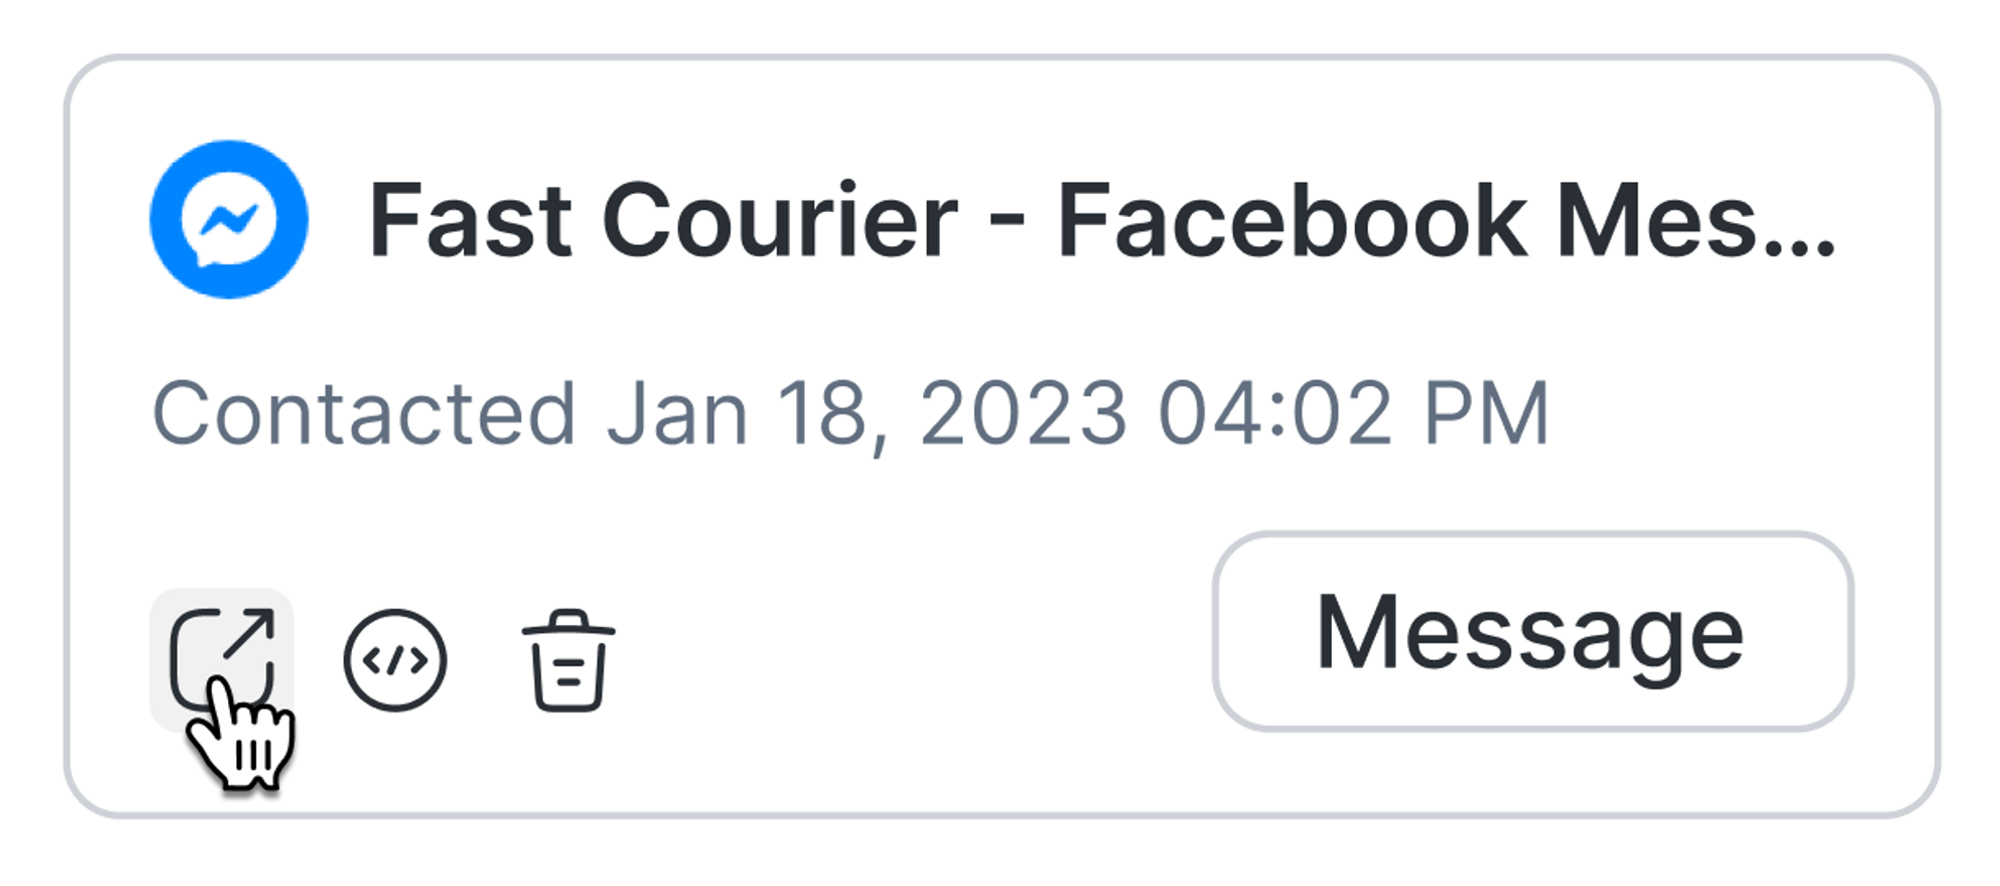
Active Channels are Channels that are connected and have existing interactions with a Contact. The date and time these Channels were connected are indicated.
For Facebook, you can hover on the Channel card to view and click on the link button. This lets you navigate to the conversation on the relevant Facebook page.
Inactive Channels are Channels that are yet to be connected with the Contact. They can be connected by initiating a conversation with the Contact. Clicking on the Send first message will select the Channel by default in the messaging bar.
This is only applicable for WhatsApp, SMS and email, providing the Contact's phone number or email address is present.
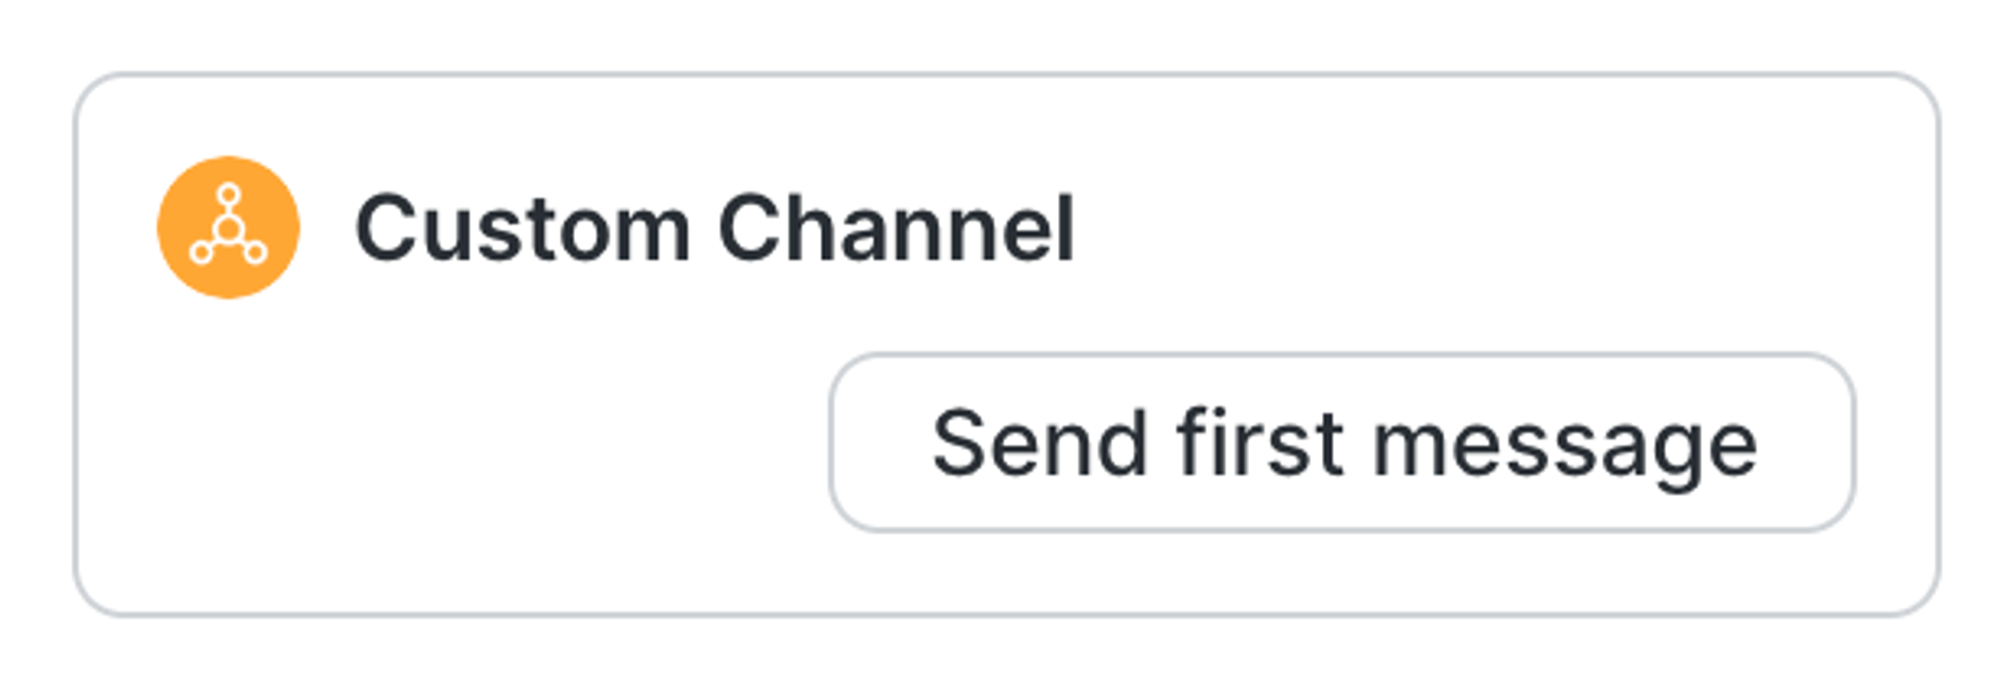
Unavailable Channels are Channels that Contacts do not have existing interactions on. These Channels cannot be connected to a Contact at the initiative of a Workspace User. The connection has to be initiated by the Contact, who needs to send the first message on these Channels.
Only Owners and Managers can perform this action in the Contacts module.
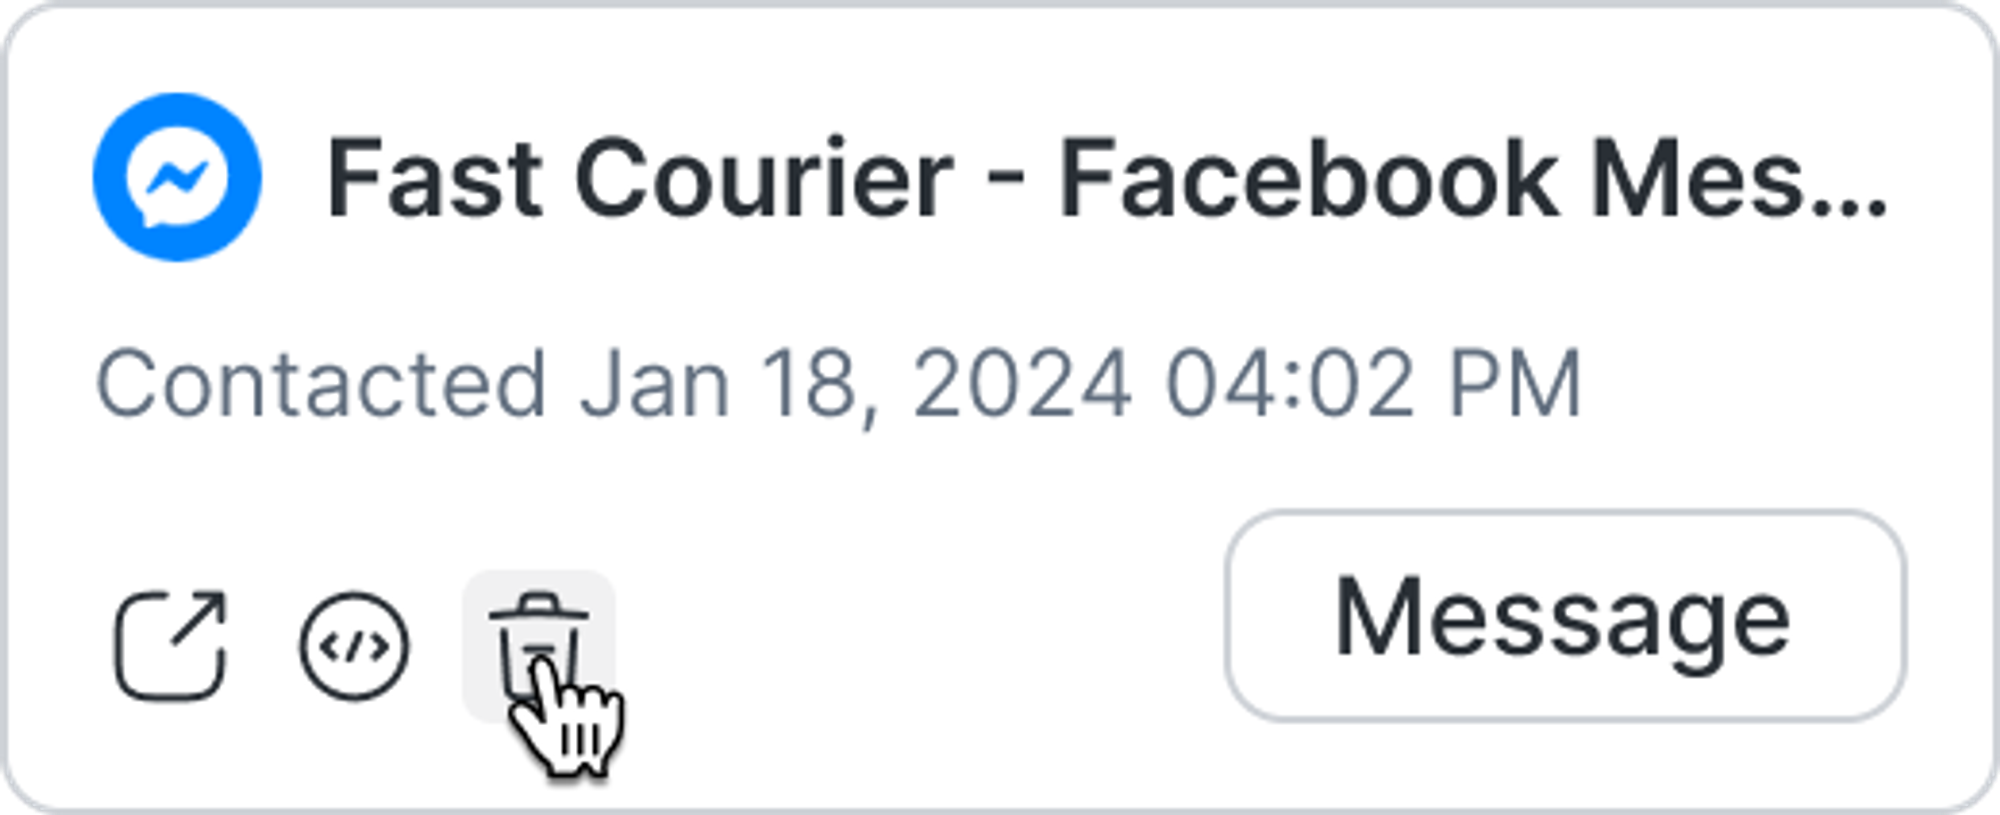
You can remove a Channel from the Contact via the Remove icon. This is used when the Channel is no longer relevant to the Contact e.g. the Contact has changed phone number. The conversation history will remain and not be removed even if the Channel has been deleted.
In the vertical sidebar, the Contact Details tab will notify you of merge suggestions.
Upon opening the tab, you'll find a Merge Suggestions card displaying potential duplicates, allowing for easy merging of Contacts.

Within a Workspace, there can be multiple Contact profiles belonging to the same person. In such scenarios, these duplicate Contact records can be merged into one complete record.
Platform Users will be alerted about potential duplicate Contacts through merge suggestions. Merge suggestions are made based on the repeated use of a phone number or email address on two or more Contact profiles. A green tick icon will be shown on the right of the suggested Contact’s email or phone number to indicate the duplicate value.
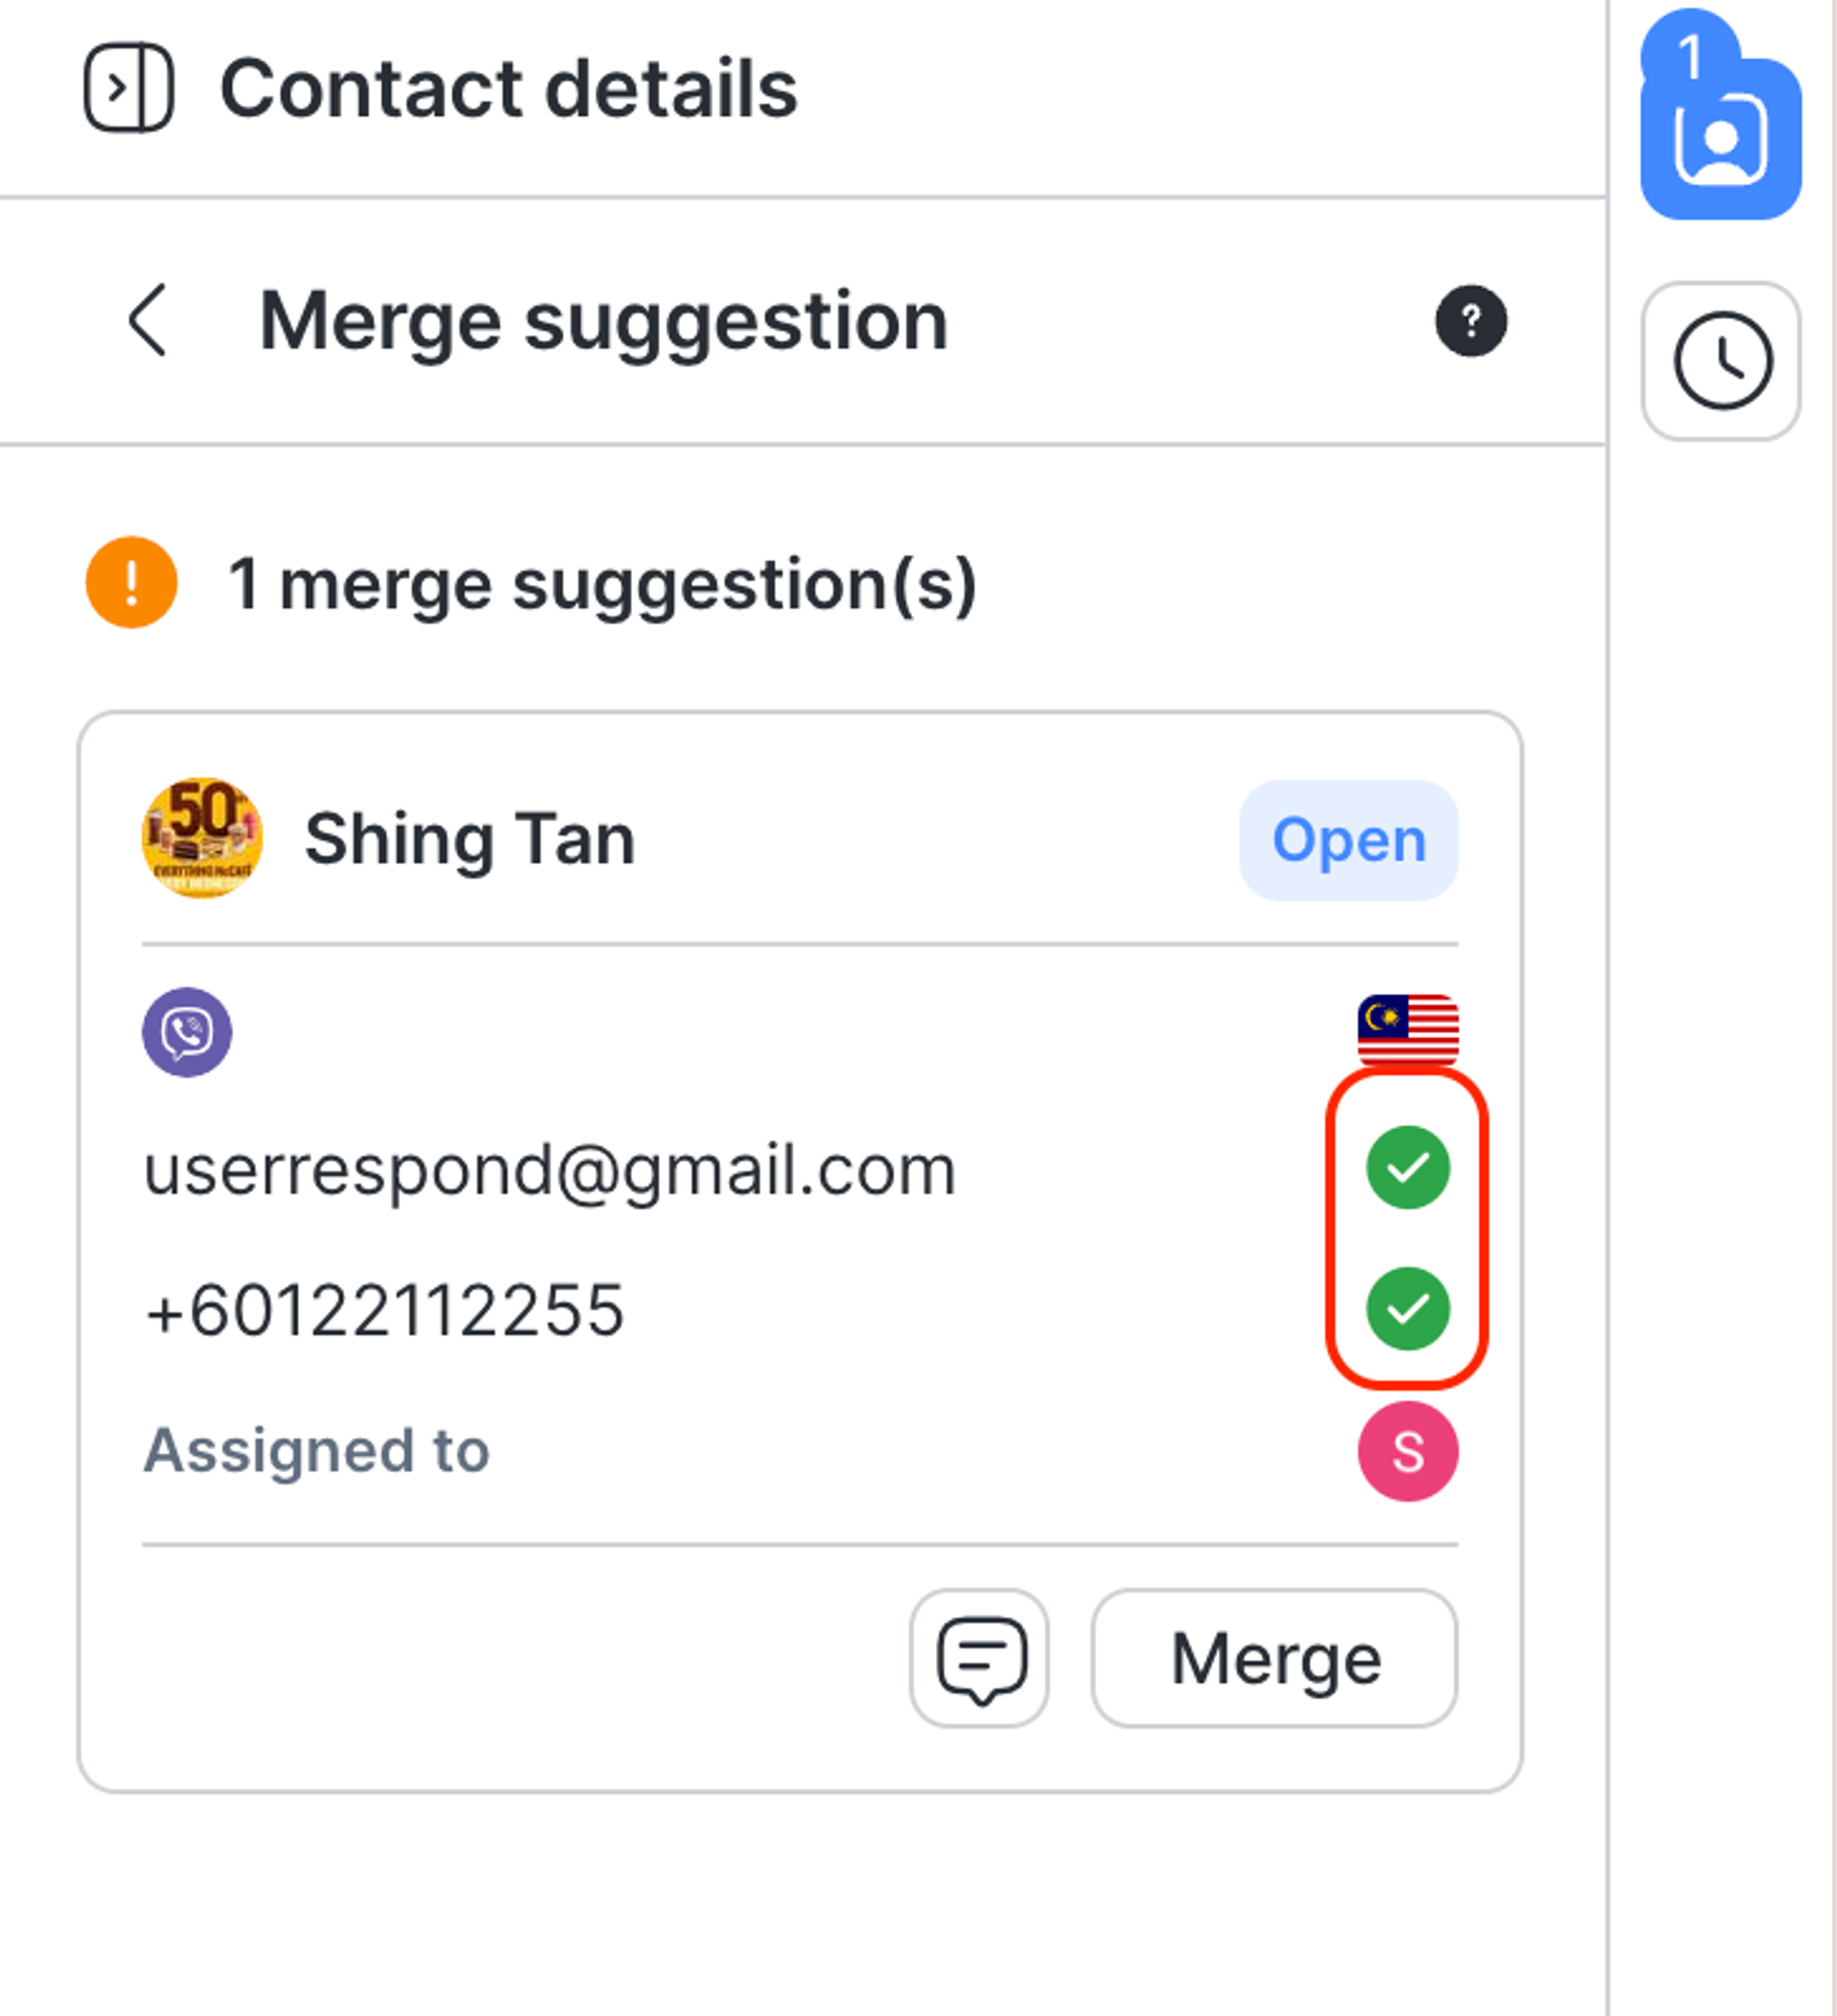
Once these duplicated Contacts have been verified, click on Merge to perform the merging of Contacts.

You can immediately undo a merge by clicking the “Undo merge” button on the “Merge successful” callout.
Owners and managers can see merge histories in the Contacts Module.
Merge suggestions will also be prompted on the Dashboard.
Learn more about how to merge Contacts.
Blocked Contacts will not be included in the merge suggestions.
Each Contact has a specific set of fields that describe them and help provide context to users who interact with them.
Learn how to customize the order of the Contact fields here.
Fields | Type | Description | Editable |
|---|---|---|---|
Contact Profile | - | The profile picture and display name are obtained from the Channel on which the Contact interacted. | - |
First Name | Text | Contact's first name, which can be sourced from the Channel or manually updated. | ✓ |
Last Name | Text | Contact's last name, which can be sourced from the Channel or manually updated. | ✓ |
Country | Country | A representation of where the Contact originates from. The value can be sourced from the phone number or manually updated. | ✓ |
Language | Language | Contact's language, which can be sourced from the Contact's browser, Channel or manually updated. | ✓ |
Email Address | Email Address | Contact's email address, which can be sourced from the Channel or manually updated. | ✓ |
Phone Number | Phone Number | Contact's phone number, which can be sourced from the Channel or manually updated. The phone number must include the country code and follow the E164 format. | ✓ |
Assigned To | Dropdown | The current assignee to whom the Contact is assigned. | ✓ |
Conversation Status | Dropdown | The current status of the Contact's conversation. | - |
Learn more on how to add a WhatsApp contact here.
The custom fields configured in the Workspace will also be shown in the Contact details.
Learn more about custom fields here.
Tags assigned to this Contact will be visible at the bottom of the details view.

Tags are primarily used to group Contacts and can be used to filter Contacts.
Click the plus icon.
Search for the desired Tag(s).
Select the checkbox(es) for the Tag(s) you want to assign.
If the Tag doesn’t exist, create a new one you’ll have the option to create a new one.
Learn more about adding Tags here.
Click the “x” icon next to the Tag you want to remove.
Learn more about deleting Tags here.
Removing a Tag doesn’t delete it from the platform but may affect Contact Segments and Workflows.
To help keep the Workspace organized, try to standardize how you assign Tags to your Contacts. Assign only required Tags to a Contact to create more meaningful Segments.
To block or unblock a Contact, access the more actions menu at the top of the Contact details drawer by clicking on the three dots icon.
This action can only be performed in the Contacts module.
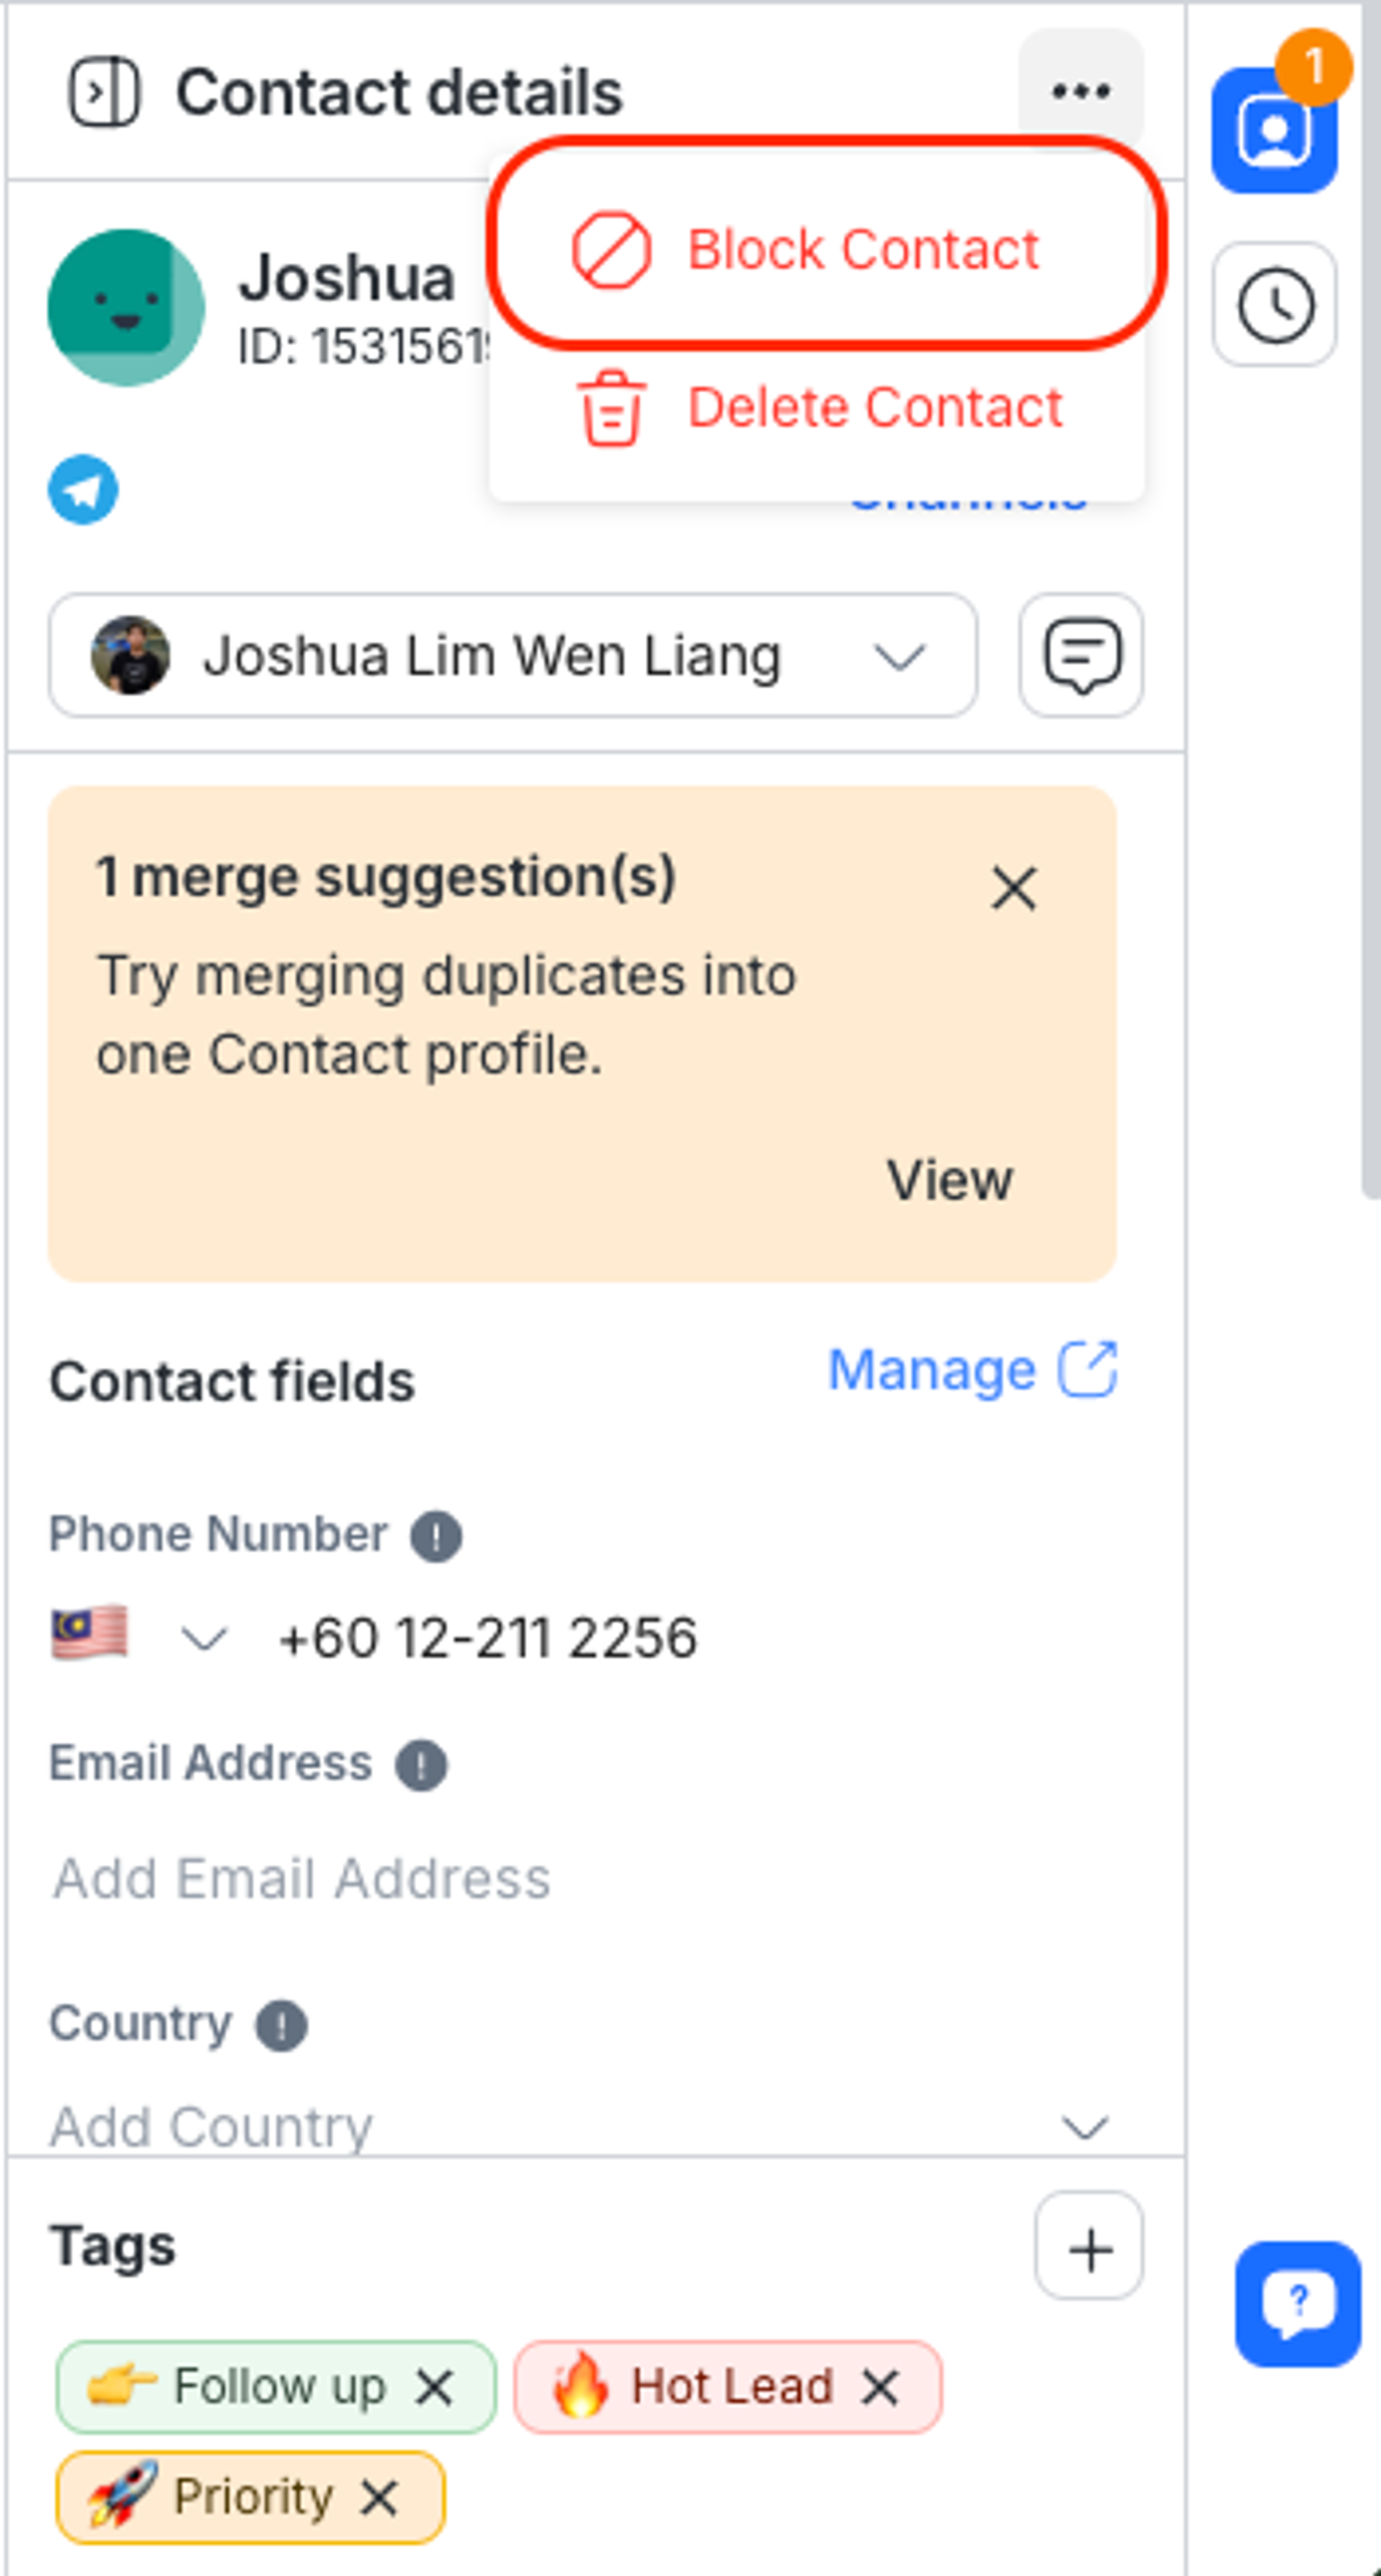
If Contacts are sending you spam messages, you can block the Contacts using the Block Contact option to stop receiving messages from them.
When you block a Contact:
the conversation will be automatically closed, and then blocked.
any messages sent by the Contact after they're blocked will not be displayed on the conversation window.
any messages sent by the Contact after they're blocked will not be counted towards your Monthly Active Contacts usage from the next billing cycle onwards.
all ongoing Workflows for the blocked Contact will be automatically stopped.
If you have mistakenly blocked a Contact, you may reverse the action by using the Unblock Contact option.
Learn more on how to manage spam here.
In the Contacts module, click on Blocked Contacts
Select the Contact you want to unblock
Click on the three dots icon
Click Unblock Contact
This action can only be performed in the Contacts module by Owners and Managers with no restrictions.
If Contacts are no longer relevant, they can be deleted from the Workspace. When you delete a Contact, its conversation history is also removed.
Please remember that once Contact information is removed, it cannot be recovered.
You can delete a few Contacts by selecting the check boxes adjacent to them or select all Contacts on a page by selecting the checkbox on top of the page. Then, click Delete , confirm the number of contacts to delete in the dialog that opens, and select Delete.
To delete all Contacts on your worskpace in one go, use the Delete button.
The deletion process runs in the background and may take some time, depending on the number of Contacts and system availability. Typically, the process begins within a few seconds and deletes Contacts in batches to ensure smooth and efficient processing.
When selecting more than 100 Contacts using the Select All button, the Assign Tags and Export to CSV buttons will be disabled. If fewer than 100 Contacts are selected, these buttons will be hidden.


Related articles 👩💻

