This Step adds new rows to a Google Sheets worksheet using the specified column mapping values.
This step is only available for Growth Plan and above.
There are three key configurations for adding a new row to Google Sheets:
Google Sheets
Worksheet (Tab)
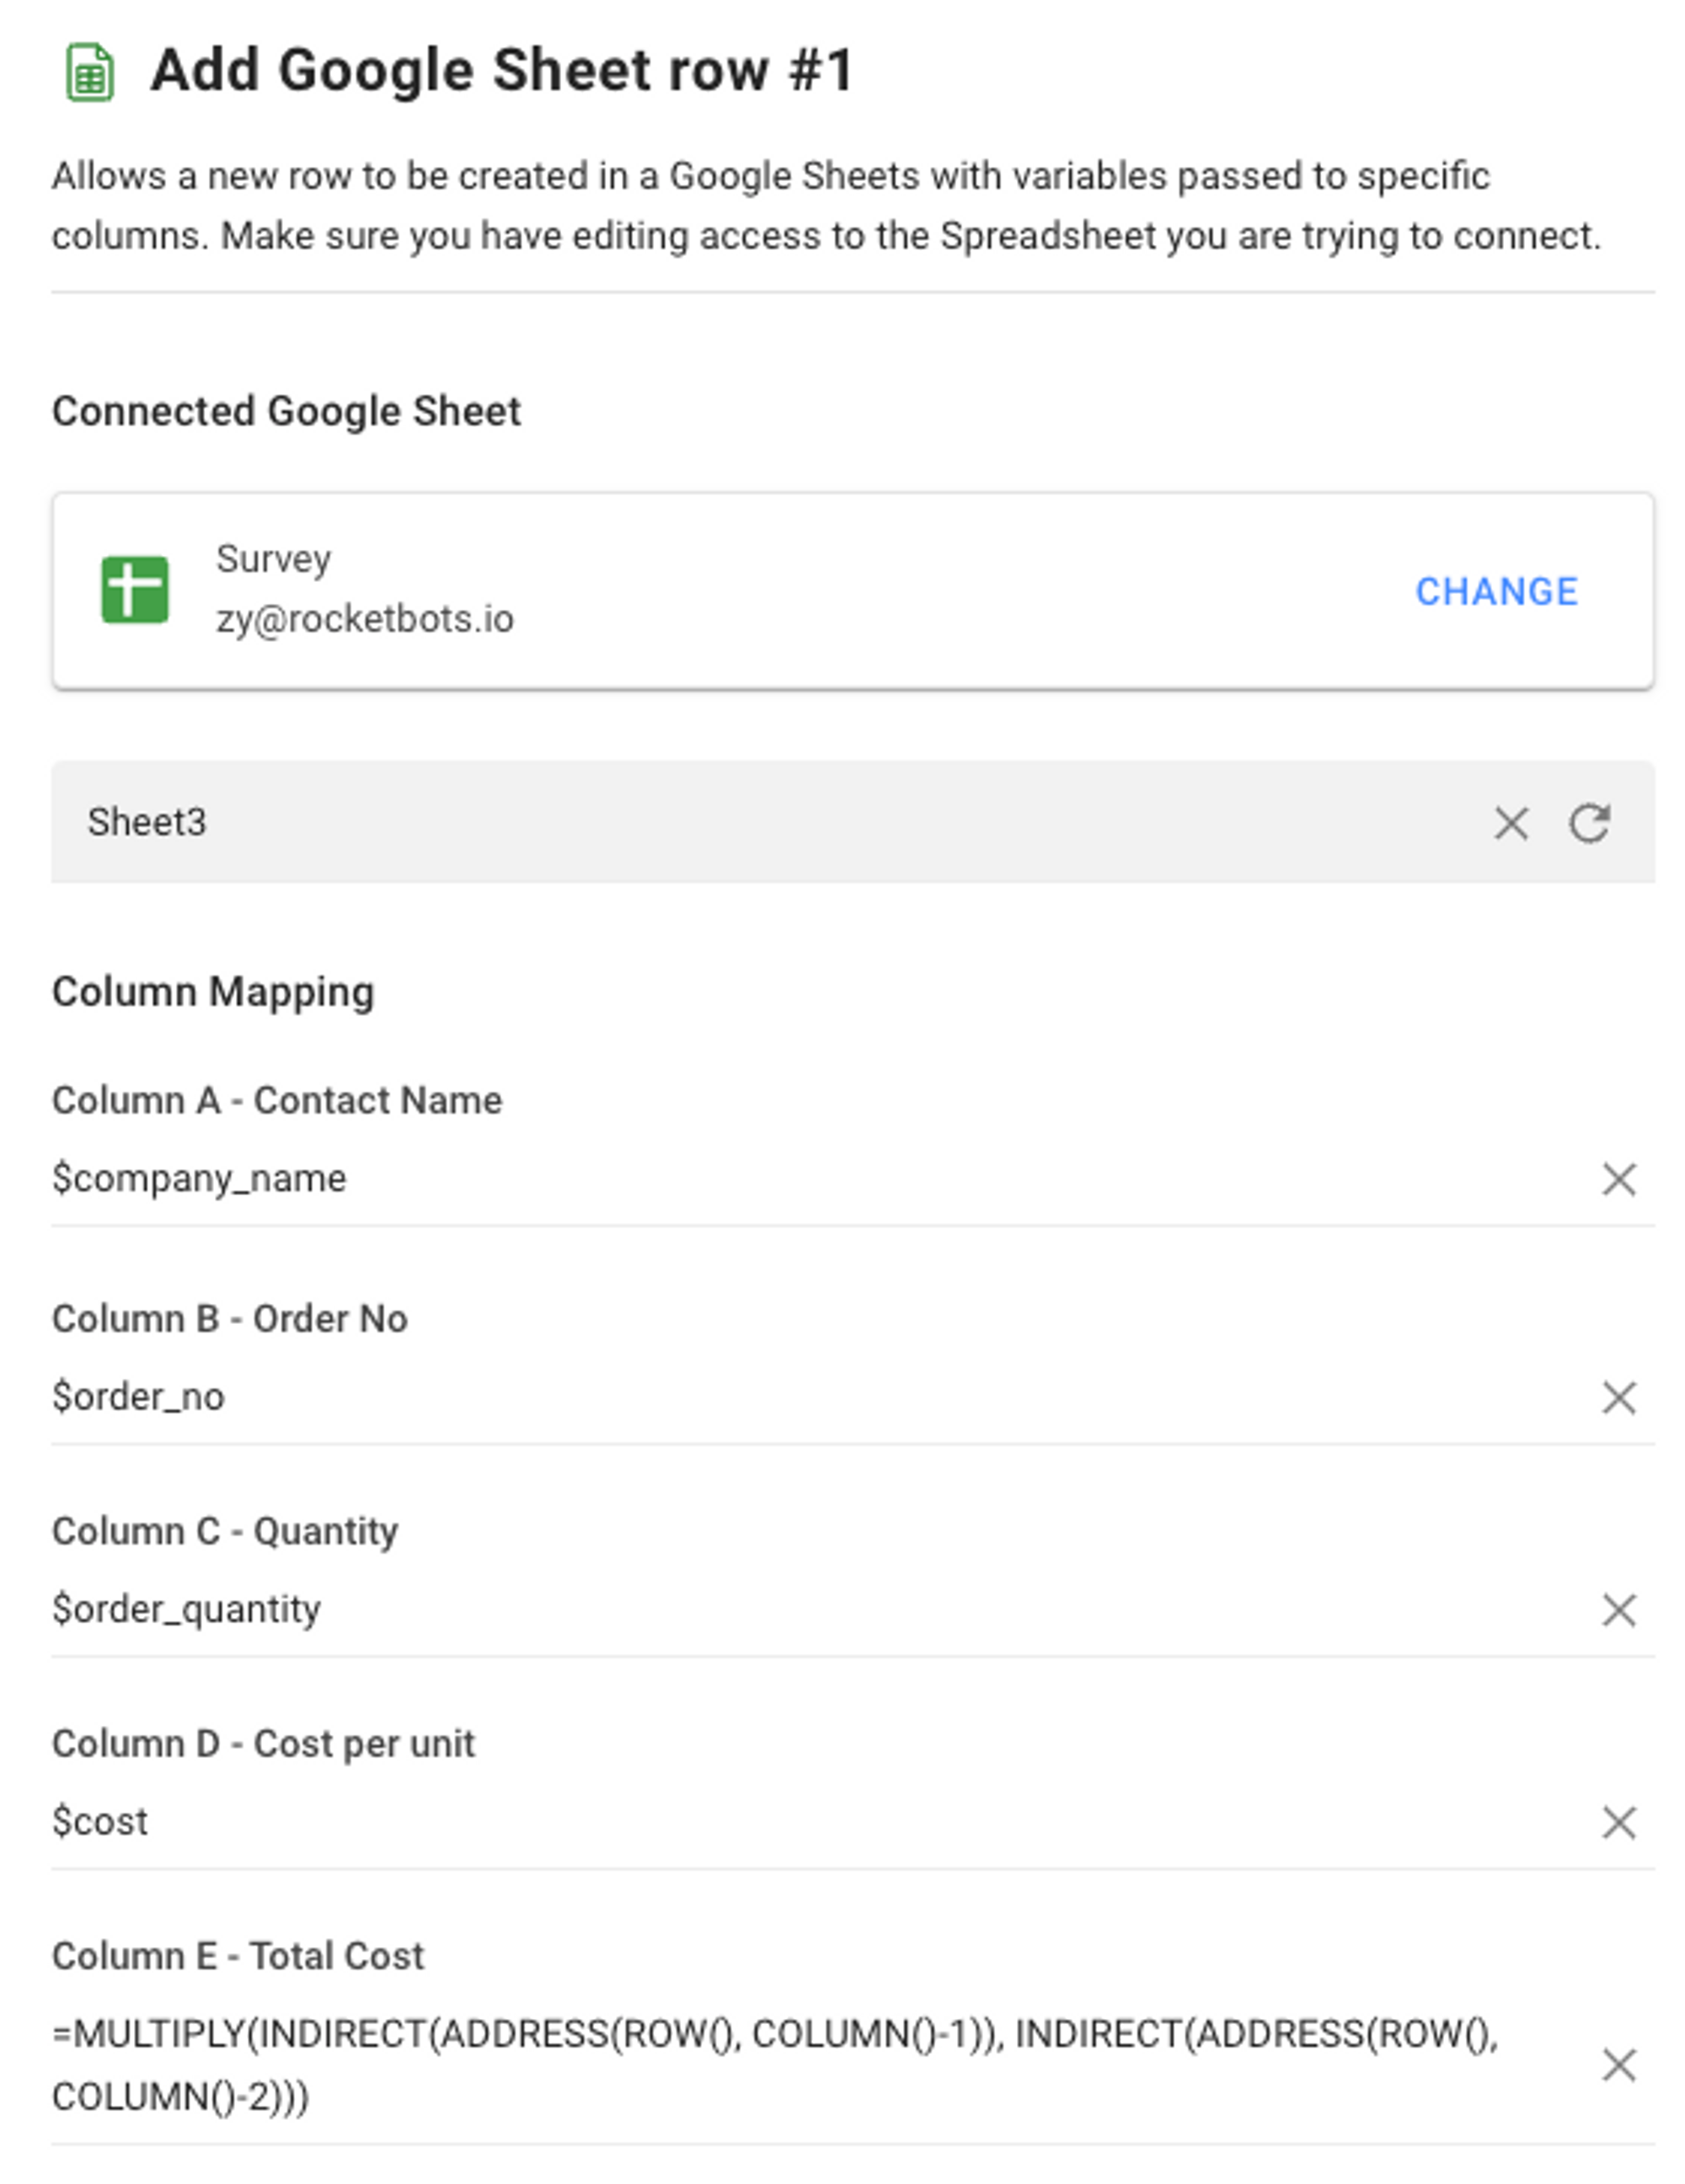
Column Mapping
Select the Google Sheets file you want to populate.
Make sure you have editing access to the worksheet you are trying to connect to.
Once you've chosen the desired Google Sheets file, select the worksheet or tab you want to populate.
Ensure that the sheet name doesn't contain punctuation and the first row of the worksheet is a header row with filled-in column names. If Column A's first row has a missing value, data will be inserted at the top of the sheet, not at the bottom.
After determining the worksheet or tab, open the Column Mapping configuration drawer. You can configure up to 26 columns (Column A to Column Z).
Fill in the column fields with the desired data. To include Variables, use the "$" prefix to support the interpolation of static text and Variables. You can also use system variables as the Column Mapping value to timestamp when new Google Sheet Rows are added, helping you track events.
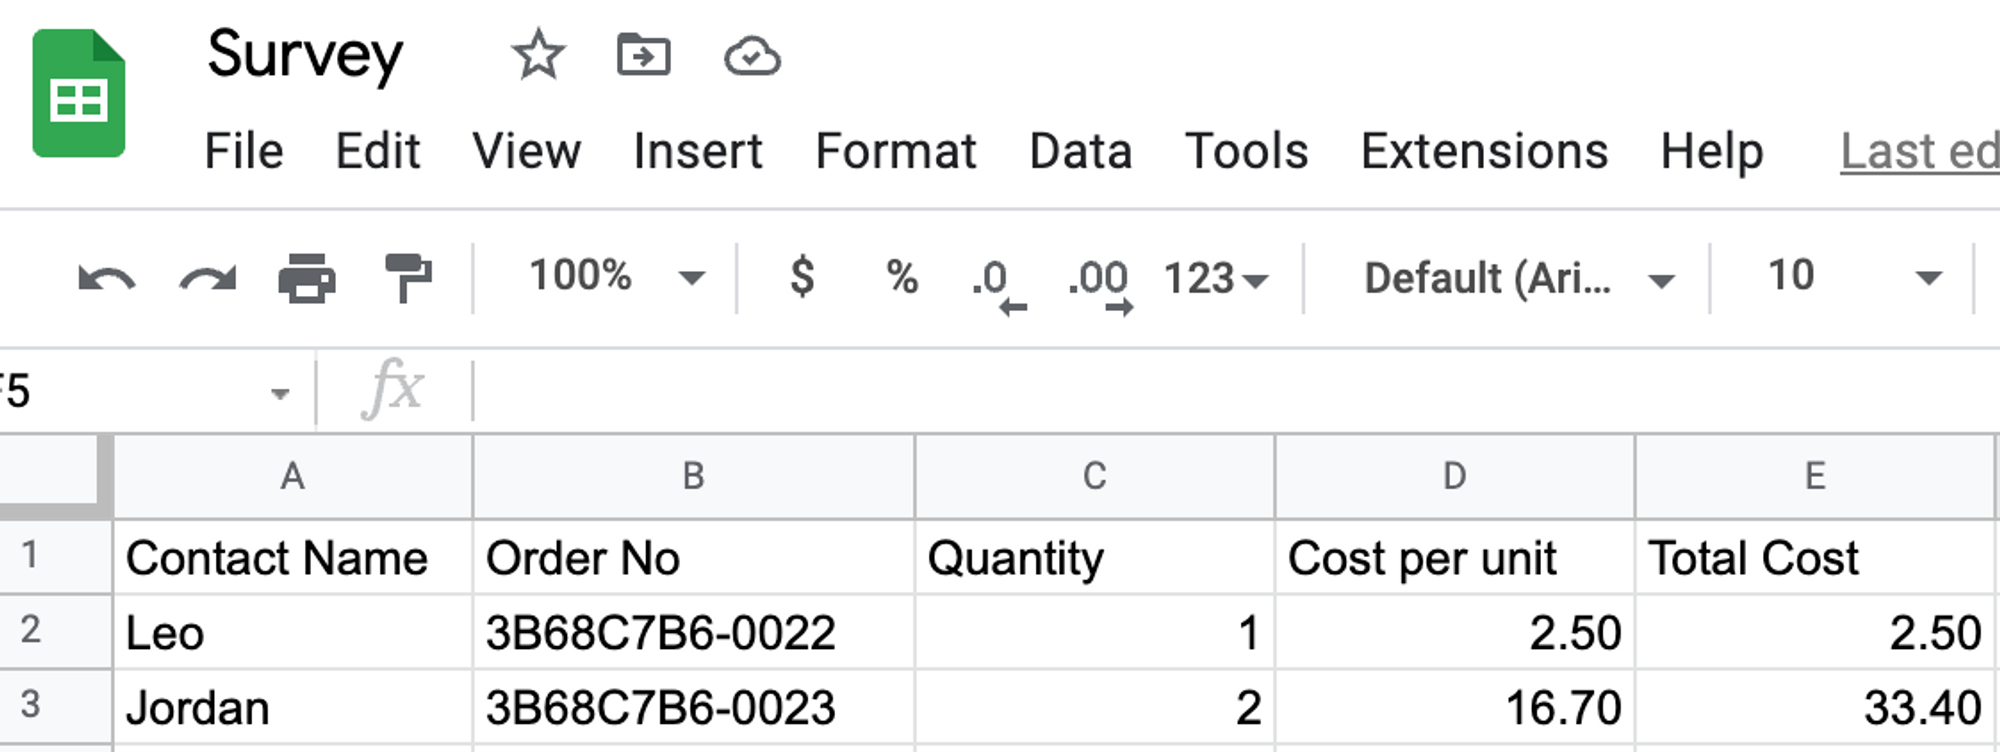
For Google Sheets calculations, add the formula in the relevant field to automatically calculate and display the value when a new row is added to the worksheet.
If you want to leave a column blank in the sheet, leave its field in the configuration drawer empty.
To update the worksheet and column mapping fields, click on the refresh button in the configuration drawer.
When the Workflow is triggered, the values specified in the column mapping field will be added to the Google Sheets worksheet, creating a new row at the bottom of the table to display the data.
When editing a worksheet, first stop the Workflow. Then, update the column fields in the Step configuration drawer before republishing the Workflow to reflect the changes. Failing to do so may result in a data mismatch between the Workflow input and the new rows in the worksheet.
Editing a worksheet involves the following actions:
Deleting existing rows or columns
Adding rows anywhere other than at the bottom of the worksheet
Changing the column sorting of the sheet
Renaming, adding, or rearranging columns
Renaming the workbook or the worksheet
The Add Google Sheets Row Step can encounter two potential failures:
Lack of editing permission for the chosen Google Sheets file.
The selected worksheet has reached its cell limit or is already full.
In such cases, the contact will bypass this Step and continue with the rest of the Workflow's journey.
Here’s a best practice for this step you can follow to optimize your workflow:
Avoid updating the sheet tab name or the main worksheet name after setting up the step. Doing so will stop data population in the sheet and necessitate reconfiguring the step.
Define the required headers in the Google Sheets first before setting up the Workflow step.
Avoid using checkboxes, dropdowns, or other pre-filled formatting in empty rows, as these are treated as values. This may cause data to populate in unexpected rows. Use a clean sheet or dedicate a section without such formatting for more predictable behavior.
Here are some ways you can use the Add Google Sheets Row Step:
Save time with automated data entry: Reduce manual efforts by adding data automatically to Google Sheets. Connect a Google Sheet to create a new row with variables added to specific columns.


Related articles 👩💻

